Preparing your Office Computer
The first step is preparing your office computer for a Remote Desktop Connection (RDC). You must make your office computer your Primary Computer.
- On your office computer, navigate to the search bar and start typing Manage Primary Computer and click on the Manage Primary Computer app.
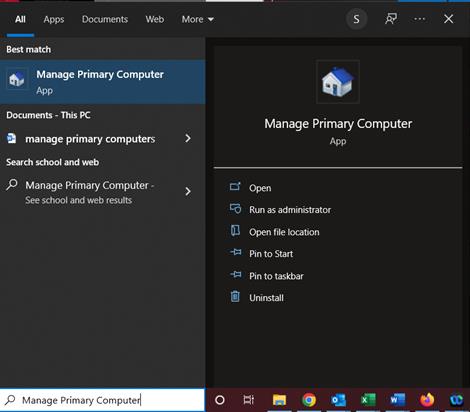
- Click on Make Primary to set your computer as your primary computer.
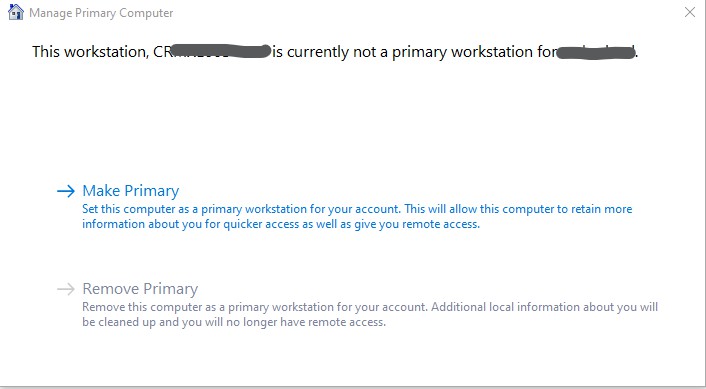
- When complete, you will see that your computer is set as Primary, the Make Primary option is now grayed out and the Remove Primary is now available. Be sure to make note of the full computer name as you will need that information to remote into that computer with Remote Desktop.
Installing the VPN Client
- On your off‐campus computer, launch a web browser and navigate to https://sslvpn.ucc.edu.
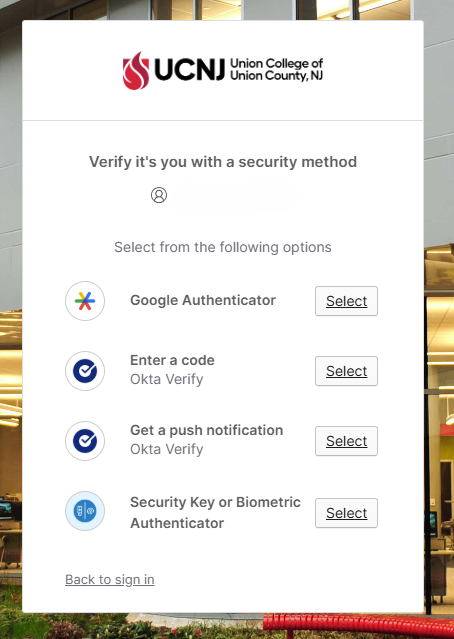
After you click Connect, you will see a popup window prompting you to login with Okta. The username is your college email address, and the password is your college password.
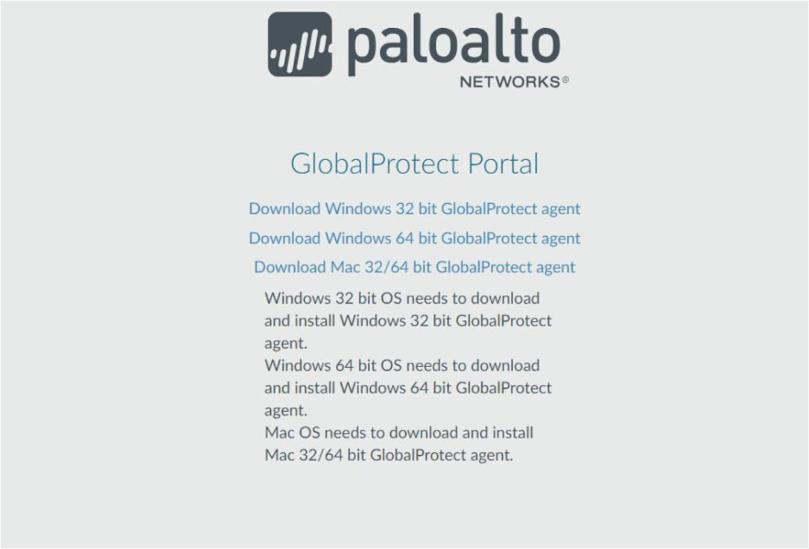
- Once logged in, you will need to download the VPN agent. Click the Download Mac 32/64‐bit GlobalProtect agent to begin the download. Please make note of where the file is downloaded to.
Once downloaded, navigate to where the file was saved and run the GlobalProtect.pkg file to install the client.
- In the GlobalProtect Installer, click Continue.
- All the default settings can be left as is.
- Click Continue until you get the Install option, and then click Install.
- If prompted for your Mac credentials, enter your local Mac username and password and click Install Software. (Please note these will not be your college credentials).
- After the installation is complete, select Close.
- If prompted, you can move the installation file to Trash.
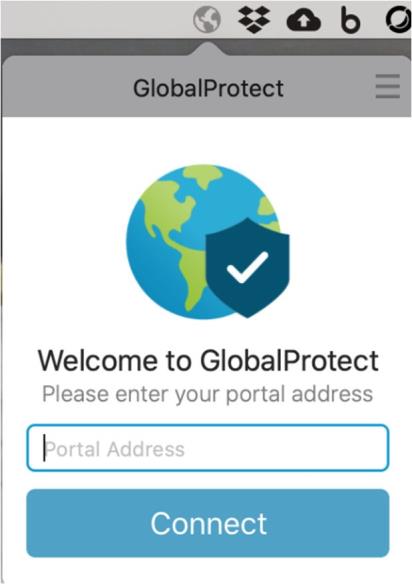
- The Global Protect window should now appear (shown below).
- Enter sslvpn.ucc.edu for the Portal Address and then click on Connect.
- If the Global Protect window does not appear, or if you are at your desktop screen, look for the gray globe in your Mac taskbar (also shown below).
- The login windows will now appear. Enter your college username and password and click Sign In. (Note: This is the same login information you use to log onto your office computer).
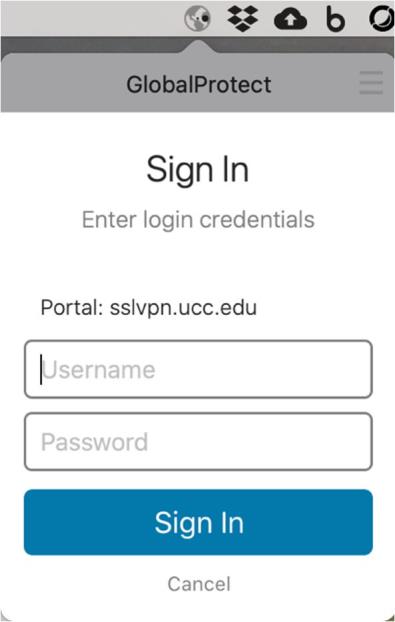
- You should now be connected to the UCNJ Network via VPN.
Remote Desktop to your Office Computer from Off-Campus
- If Remote Desktop is not already installed on you Mac, navigate to the Apple App Store and search for the Windows App and click on Get.
- Once installed, open the Windows App.
- In the top right corner of the Windows App you will see a plus sign (+). Click the plus sign (+) button select Add PC.
- Enter you office computer information:
- PC Name: Enter your full office computer name in the format COMPUTERNAME.campus.ucc.edu (Note: this information was collected in an earlier step).
- All other values can remain as default
- Click Add.
- You should now see your computer listed in the main Windows App window. Double click on your computer tile and that will bring you to the login screen.
- Enter your UCNJ login credentials:
- The username will need to be entered in the following format: CAMPUS\username (where username is the same username you would use to logon to your office computer).
- Then enter your college password and click ‘Continue’.